I have always loved nature and being outside, when I was a little girl my dad would wrap me up in a blanket in the wee hours of the morning and take me outside to hear the birds singing and see the deer (we used to live on a farm). My room is currently decorated in some of my favorite colors: gray, white, teal, black, and pops of yellow, so I thought a great compliment for those colors would be some deer silhouette pictures to hang over my bed!
You Will Need
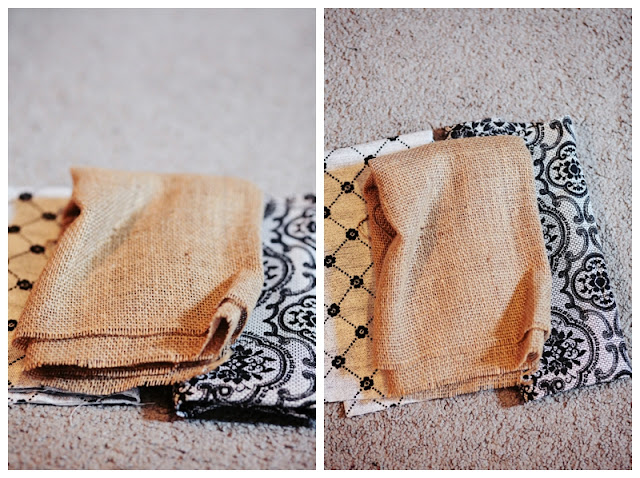
2 Frames of your choosing (I purchased mine from a local thrift store for around $0.50/a piece)
Paint colors of your choosing (I bought three things of paint from Walmart for $1.00/a piece)
Fabric (I bought mine from Hancock's for $10.00)
a deer silhouette (or really any animal silhouette, I printed my silhouette off google images)
permanent marker (or pen that is strong enough to create an outline on fabric)
paintbrushes
scissors
glue gun
cardboard
hammer
nails
Step 1: Assemble all your supplies.
Step 2.) Take cardboard, measure it so that it fits perfectly inside of your frame and cut it out. Then take fabric and measure it so that you can glue it over top of cardboard and have it fit nice and snugly.
Step 3.) Take fabric and piece of cardboard and glue fabric on two longer sides of the cardboard, then fold down and glue shorter side of fabric to cardboard, until you have a snug fitting piece of cardboard with fabric on it (like the picture in the lower right corner below)
Step 4.) Take animal silhouette and tape to your fabric covered cardboard, then trace carefully around the outline of it with a permanent marker or fabric pen.
Step 5.) Take fabric covered cardboard with silhouette and paint around outline of silhouette with the paint color of your choosing (I used black for mine because I felt like it fit the color scheme I was going for).
Step 6.) With whatever paint you haven't yet used, take it and paint the inside of your silhouette. I used white paint for the inside of my deer heads because I thought white would stand out nicely against the fabric I used. I painted two coats of white paint on my pictures to get it to show up the way I wanted it too, depending upon the paint color you have chosen you may only have to paint one coat inside your silhouette.
Step 7.) Let paint on silhouette pictures dry, then fit picture into your frame. Using several small nails, hammer them into the backside of your frame in 3 or 4 different places to hold your picture in place.
Step 8.) Last but not least, take your finished pictures and hang them up! I chose to put the pictures over my bed (with some assistance from my husband who is much better at using a hammer than me lol). Enjoy!!!


